<style>
table.custom-product-table {
border-collapse: collapse;
width: 100%;
}
table.custom-product-table th,
table.custom-product-table td {
border: 1px solid black;
padding: 8px;
text-align: left;
}
table.custom-product-table th {
font-weight: bold;
}
</style>
<table class="custom-product-table">
<tr>
<th>Color</th>
<th>Fabric</th>
</tr>
<tr>
<td>Row 1 Data 1</td>
<td>Row 1 Data 2</td>
</tr>
<tr>
<td>Row 2 Data 1</td>
<td>Row 2 Data 2</td>
</tr>
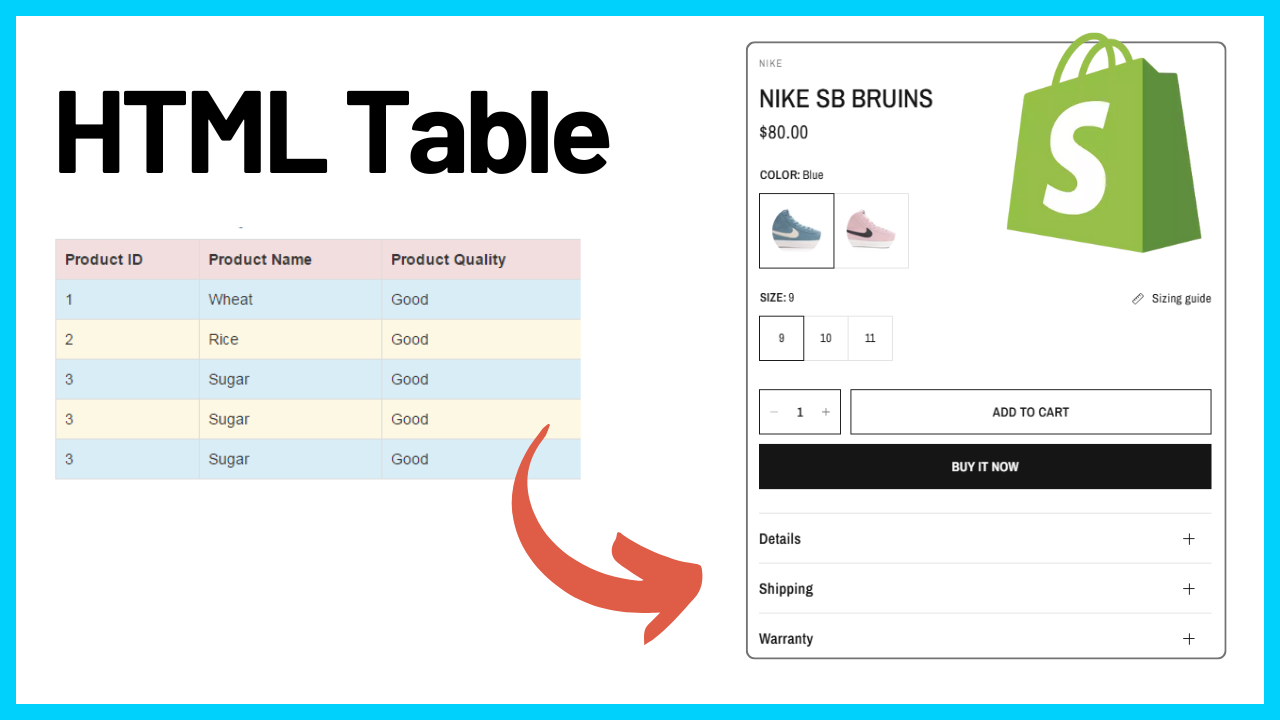
</table>Tables are essential for displaying product specifications, size charts, pricing tiers, and comparison data in an organized way. If you want to enhance your Shopify product pages with clean, responsive HTML tables, this guide covers three simple methods—no coding expertise required!
Why Add Tables to Your Shopify Product Page?
✅ Improve clarity – Show specs, sizes, or features in an easy-to-read format.
✅ Reduce customer questions – Display all details upfront (e.g., dimensions, materials).
✅ Boost conversions – Help shoppers compare options quickly.
✅ Mobile-friendly – Tables adapt to all devices when styled correctly.
Use Shopify’s Built-In Rich Text Editor
Shopify’s product description editor allows basic table creation without coding.
Steps:
- Go to Products → Select a Product → Description.
- Click the “Insert Table” button in the toolbar.
- Choose rows and columns, then fill in your data (e.g., sizes, measurements, features).
- Adjust styling (bold headers, alternating row colors) using the editor options.
Best For:
- Simple size charts
- Basic product specs
- Stores with minimal table needs
Limitations:
Not dynamic (won’t update automatically with inventory/variants)
Limited customization
Best Practices for Effective Tables
📌 Keep it simple – Avoid too many columns.
📌 Highlight key info – Use bold headers or colored rows.
📌 Make it mobile-friendly – Test on phones (some tables may scroll horizontally).
📌 Update regularly – Ensure pricing & stock levels are current.